


If you’re planning to install a shed base in Cambridge, build a garden building foundation, or hire professional concrete base installers in Cambridge, this guide is for you. Whether you’re setting up a shed, summer house, greenhouse, or even a garden office, laying a solid concrete base is essential—especially in our damp UK climate.
In this blog, we’ll walk you through exactly how to lay a concrete base, from marking out the area to pouring and tamping—plus tips tailored specifically for homeowners in Cambridge and the surrounding areas.
🔨 Why Choose a Concrete Base?
- ✅ Strength & Stability: Concrete provides unmatched support for heavy structures.
- ✅ Long-Term Durability: Perfect for Cambridge’s varying weather conditions.
- ✅ Low Maintenance: Once it’s down, it lasts for decades with minimal care.
1. Mark & Clear the Area
Start by choosing a flat location. Use a builder’s square, string line, and stakes to mark out the area. Make sure the size is slightly larger than your shed or structure for extra support.
Pro Tip (Local Insight): In areas like Trumpington, Cherry Hinton, or Arbury, soil conditions can vary. Make sure to clear the area of turf, roots, and topsoil to a depth of 150mm.
2.Lay the Sub Base
A strong sub base is critical. We recommend 75mm of MOT Type 1 hardcore—a commonly available aggregate in Cambridge builders’ merchants.
- Use stakes and a spirit level to maintain even height.
- Compact the base with a wacker plate (available for hire locally).
- Check for levelness—uneven sub bases can lead to cracks in your concrete.
3.Build the Formwork
Formwork holds your concrete in place while it sets.
- Use 25mm thick timber and stakes placed every metre.
- Make sure the frame is square using a builder’s square.
- Check levels at each stage to ensure a flat, even finish.
4.Add Damp Proof Membrane
Cambridge’s moisture-rich soil makes this step especially important.
- Lay a heavy-duty DPM (damp proof membrane) inside the formwork.
- Tape any overlaps and tuck up the sides to create a moisture barrier.
5.Mix the Concrete
For most garden structures, use a 1:2:3 mix of cement : sand : aggregate, or use ballast (pre-mixed aggregate) in a 1:5 ratio with cement.
- Mix with a cement mixer for best consistency.
- Mix only what you can pour and tamp within two hours.
6.Pour the Concrete
Start in one corner and work in sections.
- Pour using a wheelbarrow.
- Use a shovel to spread evenly and remove air pockets.
- Slightly overfill each section to allow for tamping.
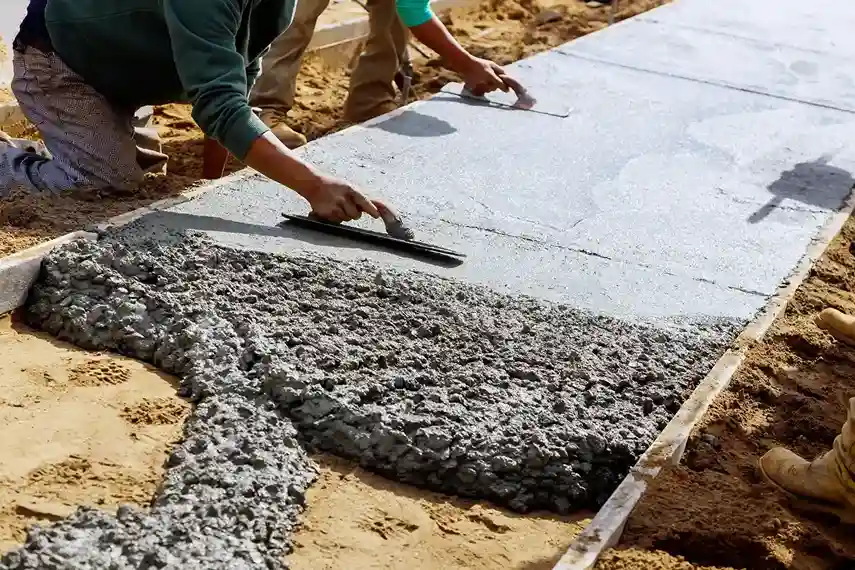
7.Tamp & Level the Surface
Use a timber board longer than the base’s width.
- Tamp from end to end with steady pressure.
- Use a back-and-forth sawing motion to level off.
- Smooth the edges with an edging trowel.
8.Cover & Cure
Cover the base with plastic sheeting to prevent rapid drying or cracking.
- Avoid walking on it for at least 48 hours.
- Let it cure for up to 28 days before placing heavy structures.